My favorite digi-scrap item to chalk is chipboard. You'll find a sample of chipboard elements as a freebie in the sidebar of this blog. These are great for you to practice on, but can also be used for personal or commercial use - no credit required!
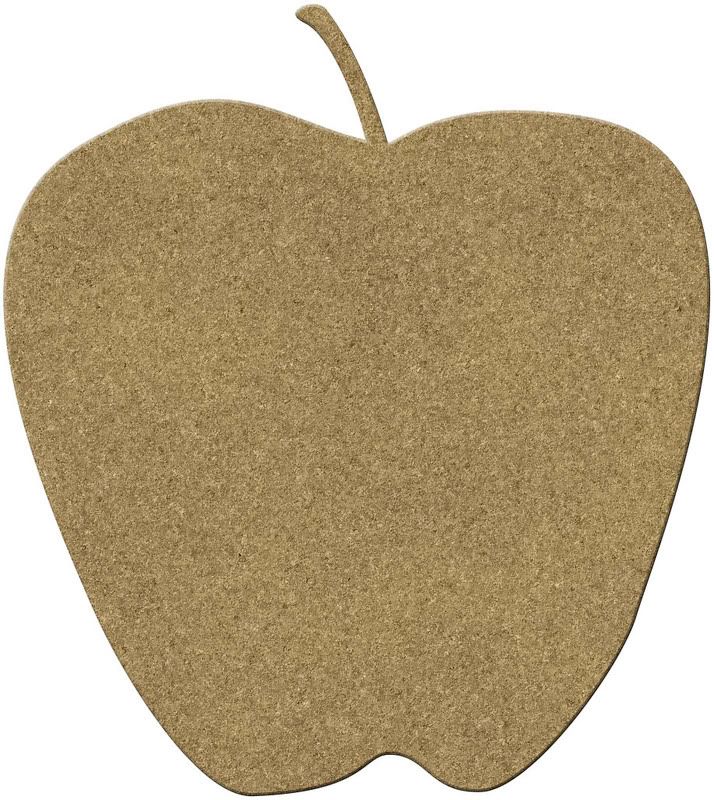
1. Open the desired element and use the magic wand to select the transparent area of the layer.
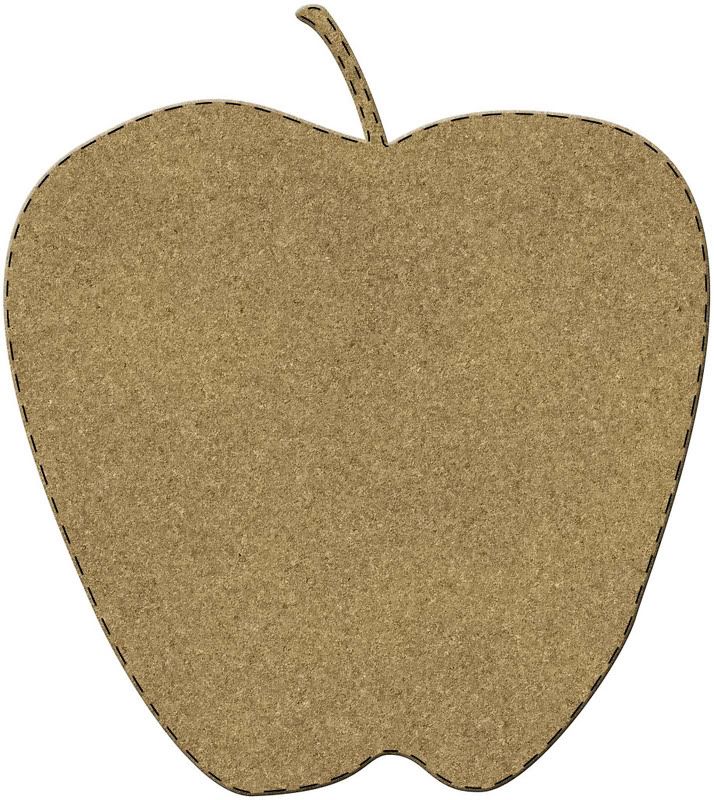
2. Invert the selection and contract by around 4-8 pixels. Add/create a new layer - but do NOT alter the selection. (I've shown the selection with drawn in black marks - your software will show you much smaller "marching ants" that mark the selection.)
The reason you want to contract the selection is to avoid coloring the edges. The edges of many elements are created to show some "depth" - if you color over this area, you'll end up with a flat looking element.
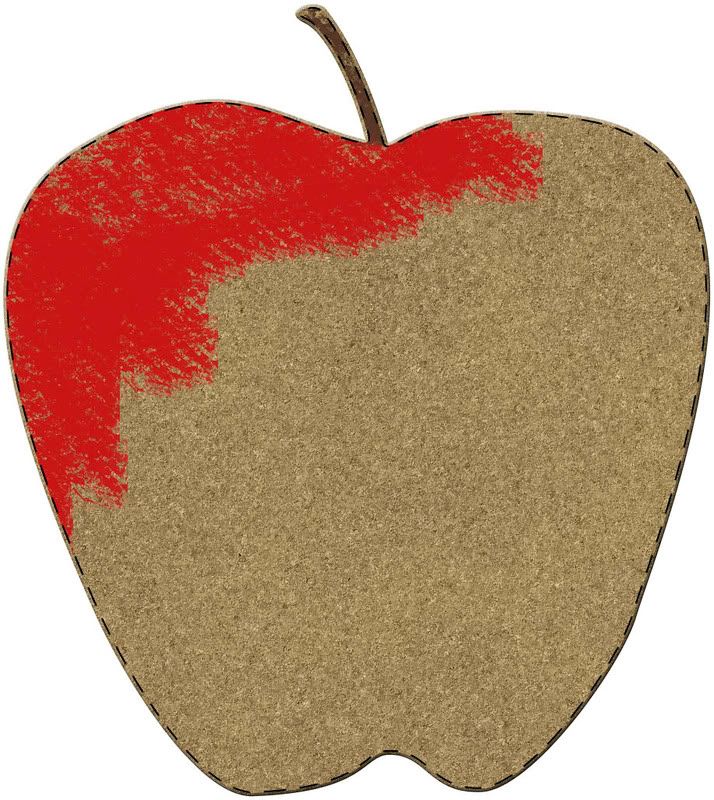
3. Select a natural type brush (from whatever brushes you have) and use it to brush or paint your desired color onto the new layer. You can adjust the settings and size of your brush to give you the results you are looking for.
4. Don't try to be neat! You should allow the color of the chipboard to show through in random spots; this will add to the realism of the chalked element.

5. Have fun with this! Work on however many new layers you want and add whatever decorative touches you want for your element.
By working on different layers, you'll make it MUCH easier on yourself to make changes if you decide you don't like something. You can simply hide or delete the layer you don't like and make a new layer to rework your color!
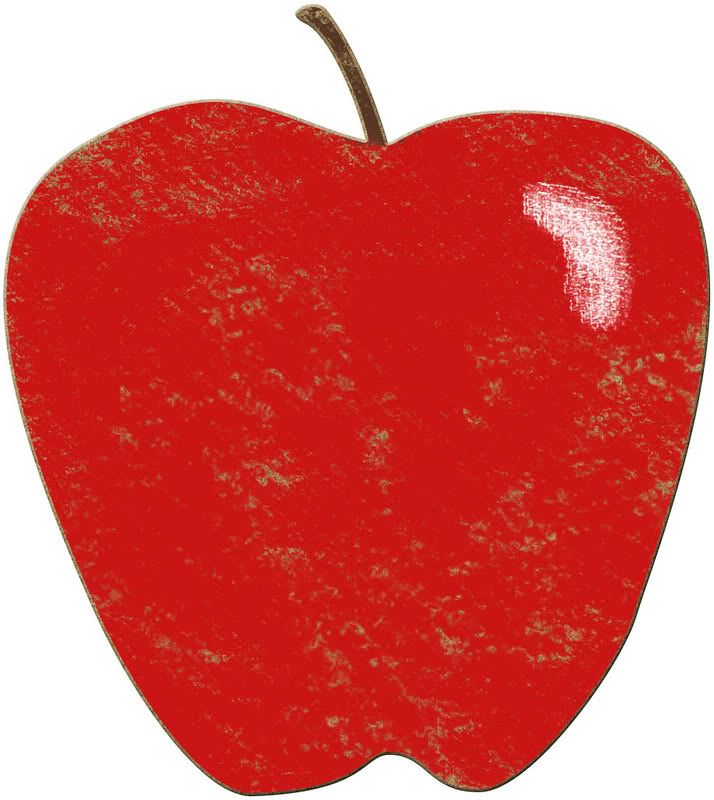
*** Real hand chalked elements would not be perfect - so have fun with this and let them be a little rough or grungy!

 Chipboard Freebie
 Template Freebie
 Brag Book Challenge - Jan 2009
 Quick Start Challenge - Feb 2009
 Twist This Template - Feb 2009


I tried this tutorial. Now maybe I'll have to try doing this sometime on a layout. Thanks for teaching new skills to those of us who don't know much.
ReplyDeletewow Paula this rocks
ReplyDeletethanks so much for all these wonderful TUTS