
Creating your first digital layout doesn't have to be difficult. If you already scrapbook using paper, the process is the same, except you can move things around, resize them and you don't need any glue or tape.
We will begin by making a very simple digital layout. For this tutorial, it is assumed that you already understand the basics of how the program you are using works, we are simple building a layout.
1. Choose the photo(s) that you wish to place on your layout.
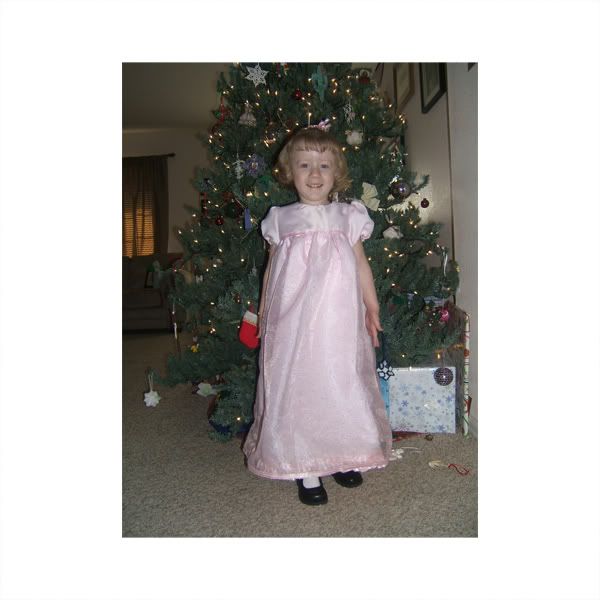
I chose this picture of my daughter Camille in her new Christmas dress. We haven't added the picture yet, but I put it here, so you can see how nice it goes with the background.
2. Choose a kit that will nicely feature your photos. It is not necessary to choose items from only one kit, but at first this can make coordinating elements and papers easier.

I chose to use the kit Cherished Memories by Paula Yagisawa because the pinks seemed a good compliment to Camille's dress.
3. Choose Background.
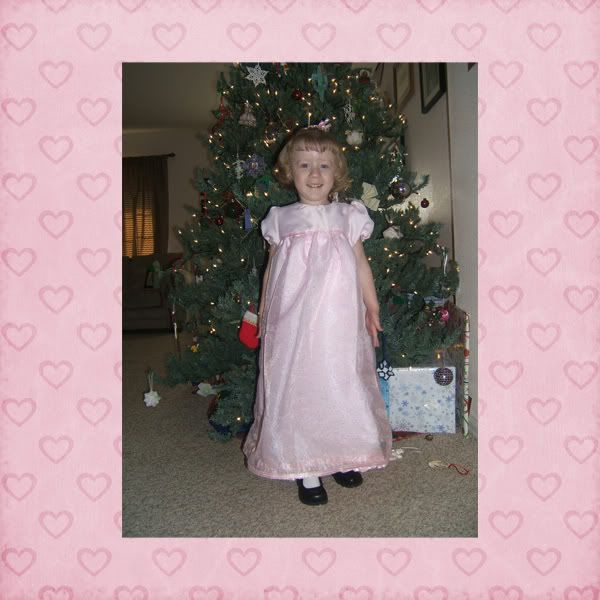
I added this pink paper for my background. It looks nice with my photo!
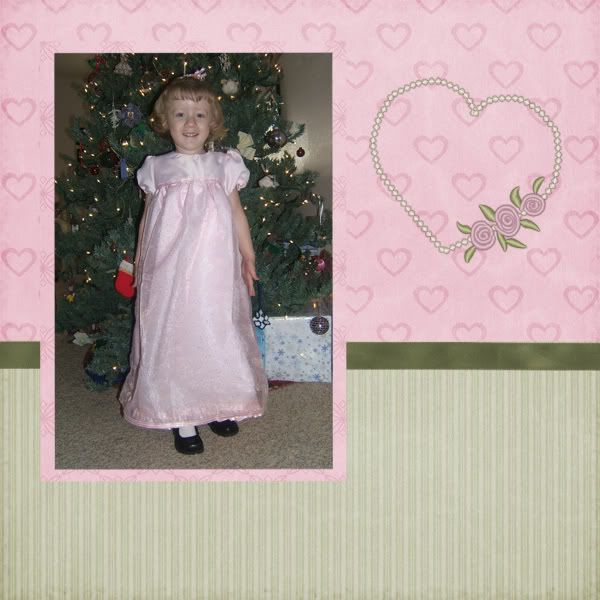
4. Choose a paper to create a mat(s). Crop the paper and place on your layout.
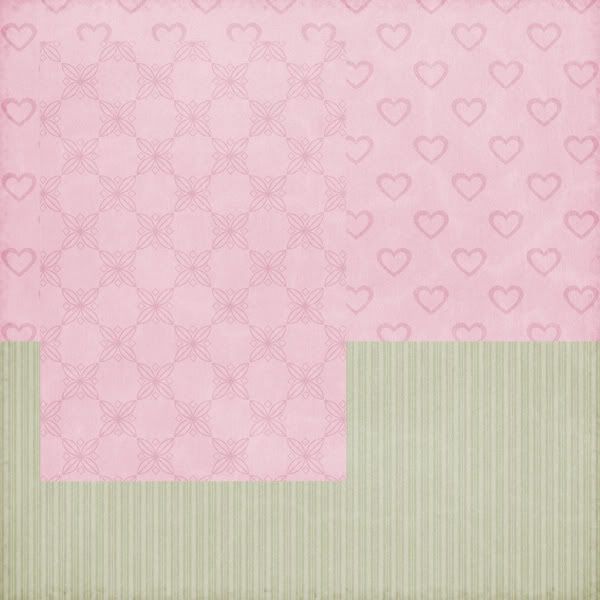
I chose a pink paper to mat my photo, and also decided to add a strip of the green striped paper across the bottom of my page.
5. Crop photos and add to layout.
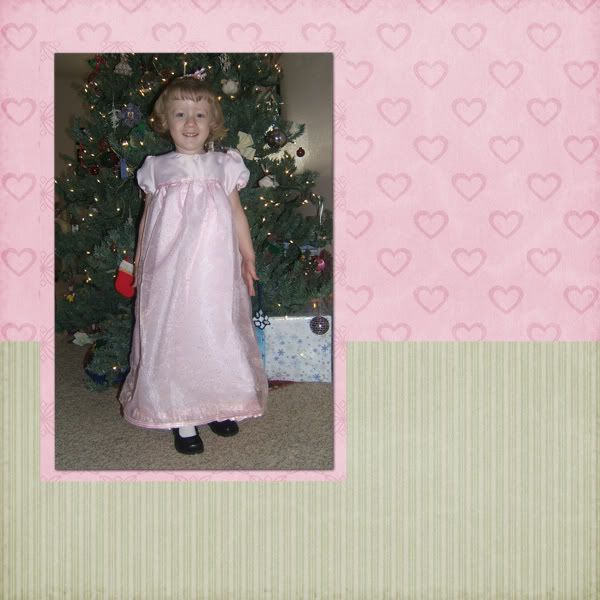
I cropped the photo of my daughter to fit inside my mat.
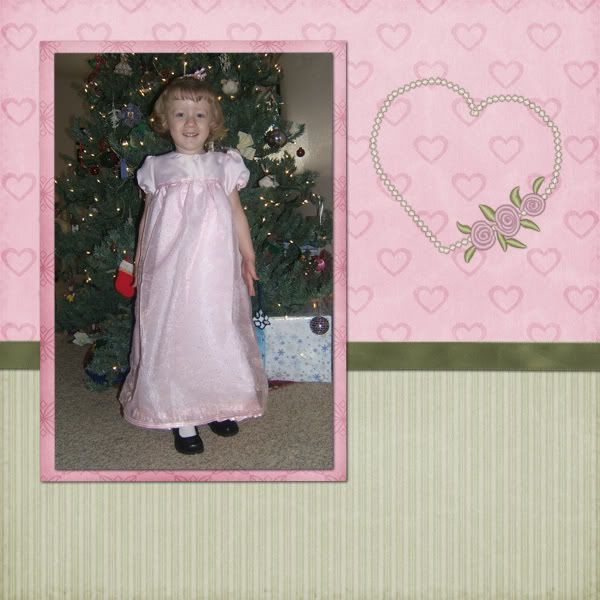
6. Add embelishments (elements). You can add as many or few as you like. Don't be afraid to try them in different locations or to move them around.
7. Add any special effects. (ex: making a string go through the hole in a tag)

In this case, I used my burn tool to darken the edges of my paper mat to make it stand out a bit. (Similar to inking the edges in paper scrapping.)
8. Add drop shadows. It is important to add drop shadows so that your digital layout appears as it would if it were a paper scrapped layout. This gives much more depth to your page.
9. Add Title and journaling (text).
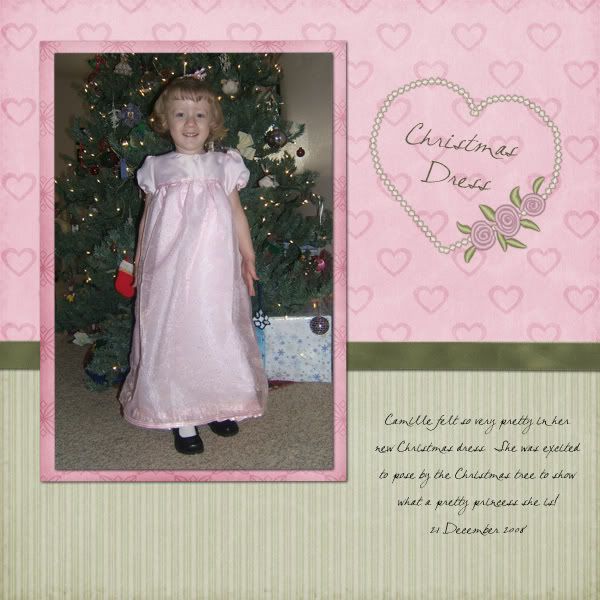
10. Record the credits for the products and font you used for your layout.
For this layout I used Paula Yagisawa's Cherished Memories kit and my font was CK Bella.
11. Save as a .jpg and share!
 Chipboard Freebie
 Template Freebie
 Brag Book Challenge - Jan 2009
 Quick Start Challenge - Feb 2009
 Twist This Template - Feb 2009


No comments:
Post a Comment