
It's always good to have more than one method for doing things, so I thought I would share how I do two page layouts (especially when I want a title or photo to spread across two pages.)
For the purpose of this tutorial, I will assume the layouts with each be 12x12 inches. I will also be using PhotoShop/PhotoShop Elements specific commands, though the general idea should work for whatever program you use.
1. Open a new document that is the size of two layouts side by side (for a 12x12 inch layout, the document would be 12x24 inches.)
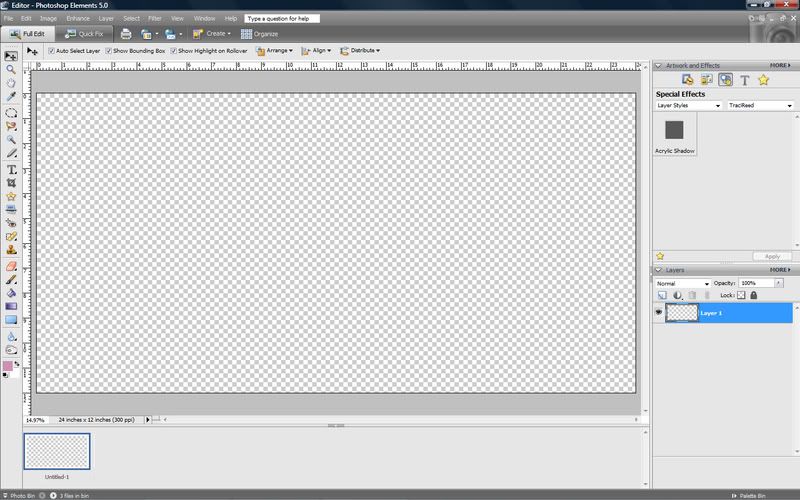
2. Turn on the grid.
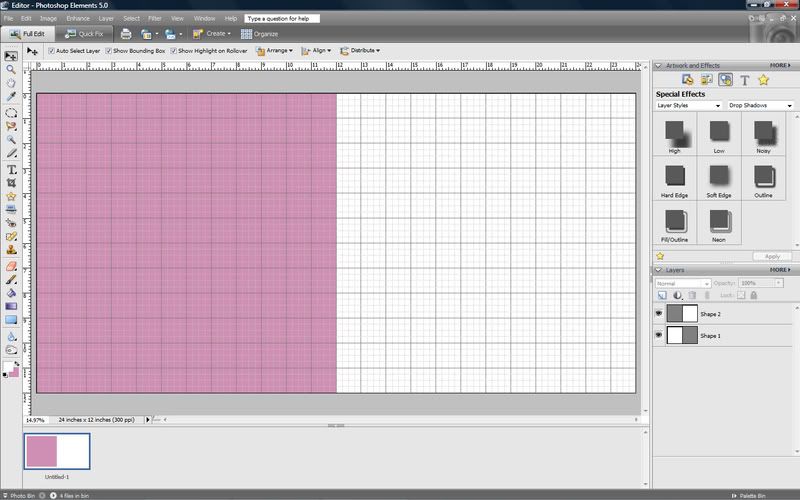
3. Use the custom shape tool to create 2 12x12 inch squares and place them on either side of the page (where your two 12x12 inch layouts will be). Turn off the grid if you desire. (Note: for this image I used two different color squares so that you can see them, but in practice I just use the same color - it's less work. The color doesn't matter because you don't see the squares in the final layout.)
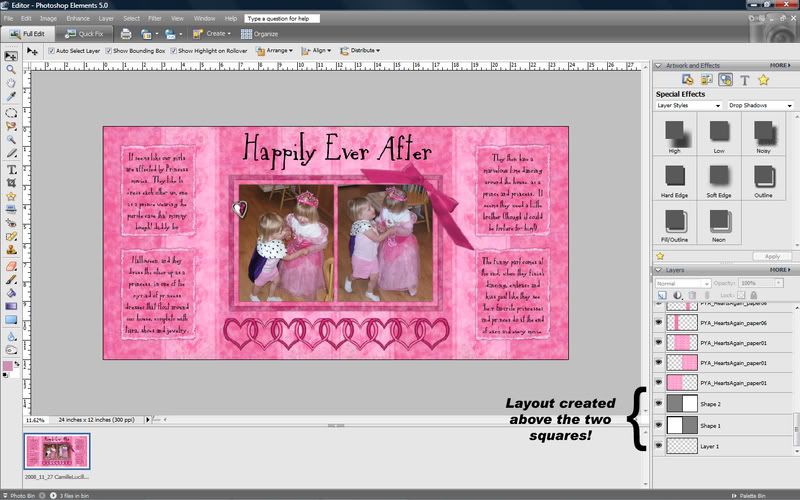
4. Scrap your layout above the two squares as you would normally do. You don't have to worry about items crossing over the middle line!
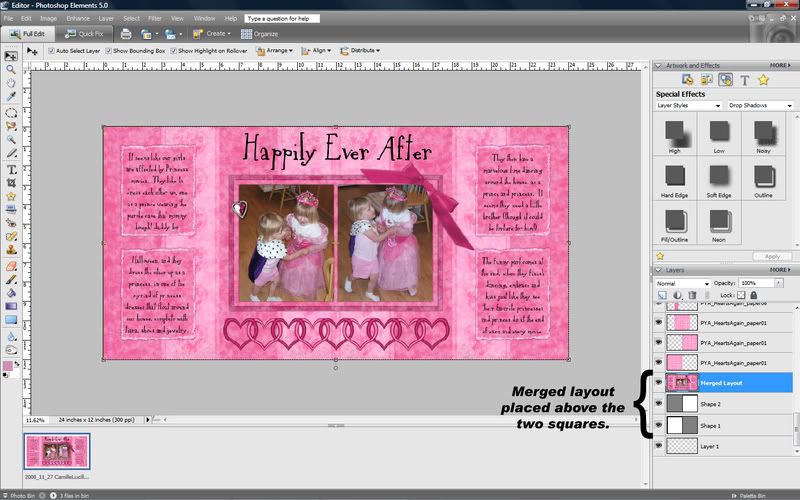
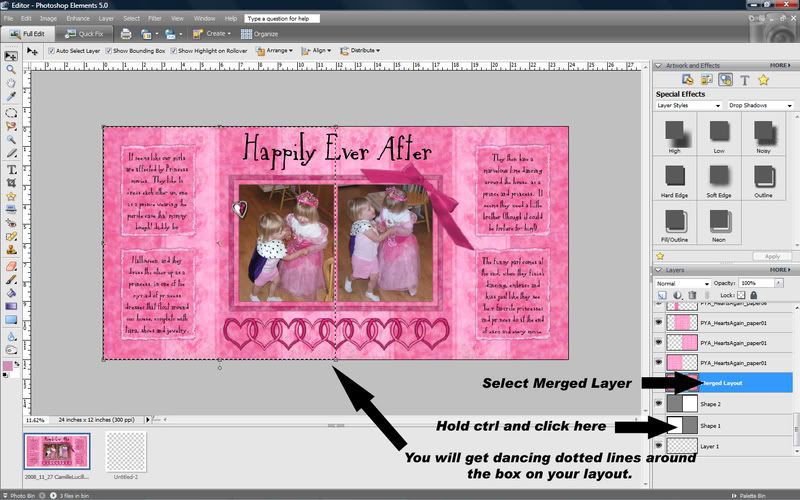
5. Highlight all of the layers of your layout. Copy (drag to the new layer icon, which looks like a square, with the corner turned up - located at top or bottom of layers palette) the layers, and then merge the copied layers. (In some versions of PS you can "layer via copy" which will do this for you in one step.) Drag this merged layer down in the layers palette so it is directly above the square layers.
6. Open a new 12x12 inch layout.
7. Select the merged layer in the layers palette (it will be highlighted blue.) Hold down ctrl and click on the square at the left side of one of the square layers in the layers palette. This will cause the shape of that layer to be selected. (This is a good trick any time you wish to select the shape of a specific layer.)
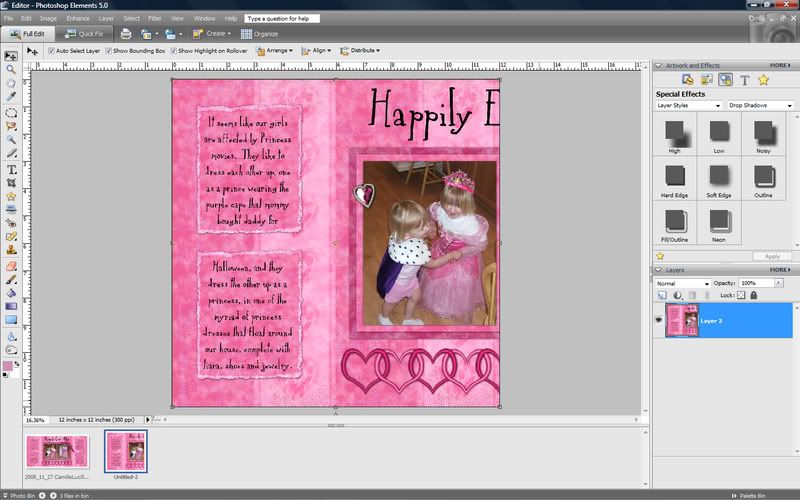
8. Copy (ctrl-c, older versions of PSE may have to do edit-copy) (this copies whatever is inside the selected shape on whatever layer is selected - in this case your merged layer). Paste into the new document you just opened. You should end up with one half of your layout.
9. Repeat steps 7 and 8 for the other side of the layout. You will now have the two halves of the layout layered on top of each other in the new document.
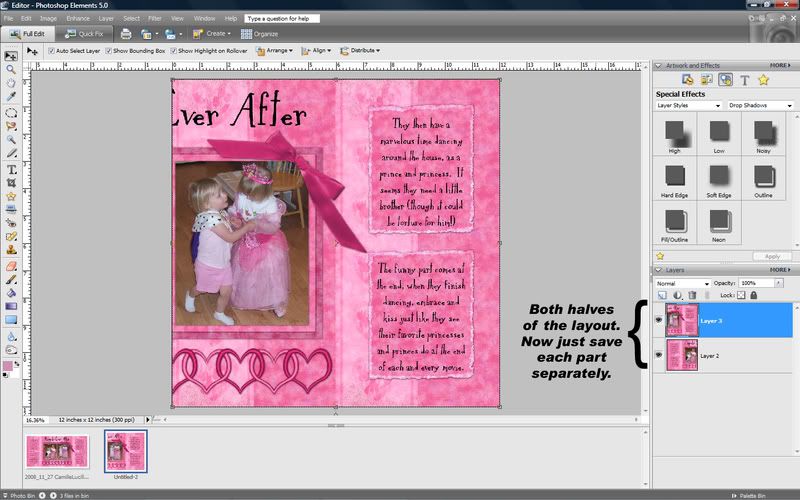
10. You can now save the individual 12x12 layouts for printing!
The layout I created for this tutorial was created using Paula's Hearts For My Love, Again page kit.
 Chipboard Freebie
 Template Freebie
 Brag Book Challenge - Jan 2009
 Quick Start Challenge - Feb 2009
 Twist This Template - Feb 2009


WOW oh wow thanks so much for this tut i just made my very first two page layout !!! YAY
ReplyDeleteAdele